How To Use Riverside For Podcast Recording (Easy Guide)
Do you want to record high quality audio and video recordings for your podcast? Discover how to use Riverside for podcast recording - how to set it up and the best settings to use.
Joe Eftihiou
Published on
Share
Joe Eftihiou
Published on
Share
In this guide, you’ll learn how to use Riverside to record high-quality podcast audio and video over the internet.
Riverside (or Riverside.fm) is an online video calling and recording software that records participants locally on their computers, which gives you a higher quality result than alternative recording tools, such as Zoom, which records purely over the internet.
I’ve split this guide into five steps to make it easier for you, so let’s get started with step 1 of how to use Riverside for podcast recording!
Please note that links to Riverside from this page are affiliate links. We get a small portion of the sales through these links.
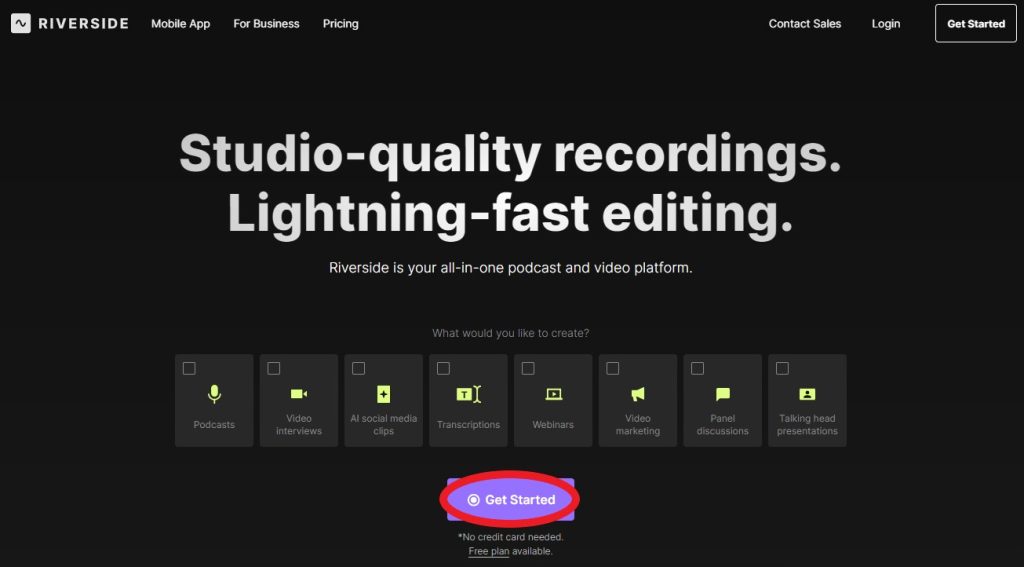
If you’re not already signed up, you’ll need to visit the Riverside website and sign up for an account.
There is a free plan, but it has limitations, your videos will be watermarked and after the first two hours, you won’t be able to export separate tracks for each speaker, which limits your ability to edit.
Standard will be enough for most podcasters for a weekly podcast
Once signed up, log in to your Riverside account using your credentials.
Step 2: Set Up Your Studio
Once logged in, you’ll see your studios list. These are sort of like digital recording studios that allow you to create different setups for different podcasts or other uses. For most podcasters, sticking with the default studio will be fine to start with.
Now you’ll need to set things up to get the best result. Click the three dots next to your Studio and click ‘Settings‘.
Rename your studio if you like.
Check ‘Require guests to wait in lobby’ to avoid guests joining before you’re ready.
Under Recording, check ‘Record only audio’ only if don’t want to save the video recording.
If you have an editor, or you’re confident with editing a mixing your audio, turn OFF ‘Remove background noise’. Otherwise, you can turn this on.
If you’re recording video and have a paid account, use 48 kHz. If you’re using a free account, 44.1 kHz is absolutely fine.
If you’re using a 1080p capable video camera, use 1080p if you have a paid account.
There are a few other settings here, but these are the essential ones for getting a great recording.
Now click ‘Go to studio’ – the big purple button!
Step 3: Preparing For Your Interview
Make sure your camera, microphone and speakers are set to the ones you want to use.
Click ‘I am using headphones’. If you’re not using headphones, you can click the other option and echo cancellation will automatically be turned on for you. But I highly recommend both speakers using headphones for the best quality and to avoid things being cut out.
The producer option is for those who aren’t participating in the call, but need to be present to access settings mid-call.
Click ‘Join Studio’.
Find the ‘People’ tab on the right. Or click the button if it’s not open.
Make sure your video is displaying and when you speak, the meter is hovering around the middle. If it’s way into the red, bring the level down slightly. If your microphone or mixer is also pushing into the red, use the volume knob on your microphone or mixer to bring it down to a healthier level.
Again, ‘Echo cancellation’ should be off and headphones on for the best quality audio. ‘Remove background noise’ should be off if you’re comfortable with manually removing noise after the recording.
Name your recording with your episode number or guest name.
If you want to add music and sound effects to the recording live, click ‘Media’, click the + and add your audio.
Step 4: Inviting Your Guests
If you’re recording solo, you can skip this step. If you’re recording with a guest of co-host, here’s how you invite them.
You’ll see the link to your studio in the ‘Invite People’ window. This link is always the same for this studio.
Click the option in the drop-down if you want to invite someone as a producer, or an audience member. An audience member won’t be included in the conversation and won’t have access to controls.
Click ‘Copy link’ and send it to your guest manually, or paste it into the booking details on whichever scheduling software you use, such as Calendly or Google Calendar.
Or, click ‘Invite by email’ to send it to them via Riverside. This is what the invite email will look like (below). It’s good to know what the process looks like for your guests, so you can assist less tech-savvy guests. Please note – at time of writing, Riverside only supports Google Chrome and Microsoft Edge browsers.
Step 5: Recording Your Episode
Once your guest has clicked the link, they’ll be transferred into the call and they’ll show up in the ‘People’ window.
Make sure they’ve got the correct mic, camera and speaker selected, and that you can hear and see each other.
Ensure your guest has headphones on too, that you both have a stable network connection and that phones are turned off.
Click ‘Record’ > ‘Run test recording’ to ensure that everything’s working correctly. This is especially important for podcast recordings as you don’t want to find out after a fantastic, hour-long recording that something’s not right.
And when you’re ready, click ‘Start recording’!
During your recording, you have the option to leave markers by pressing ‘M’, and take notes using the ‘Script’ option. If you’re using live music or sound effects, click ‘Media’ and click the buttons as needed.
You’ll notice this ‘Uploading…’ message at the top of the screen. This is because Riverside records locally on the speaker’s computers to avoid the quality reduction you get from recording over the internet, which is uploaded to Riverside.
Click stop at the end of your episode, and you’ll see your recording pop up at the bottom left. The call will continue unrecorded until participants click ‘Leave’.
Downloading Your Recordings
Click ‘View recordings’ to find your episode. It’ll take a few minutes before you can access it.
Click the episode, scroll down and click the ‘High quality’ download button and download the ‘Raw audio’ and ‘Raw video’. These are the highest-quality files to get the most out of your recording. The ‘Syned video’ option is available for interviews where a guest joined mid-recording.
You’ll then be able to open up your audio and video files in your editing software of choice, or you can keep things on Riverside and use the built-in, basic editing tools.
What’s Next?
And that’s it! You’ve recorded high-quality audio and video for your podcast over the internet. Bear in mind that Riverside won’t magically make a terrible microphone and camera sound and look great. Riverside and other similar recording services are there to get the most out of what you have while still keeping things relatively simple. Not quite as simple as something like Zoom or Google Meet, but also not nearly as complicated as trying to get all your guests to record locally by themselves.
GOT A PODCAST YOU’D LIKE TO DISCUSS?
BOOK A FREE DISCOVERY CALL NOW.
Speaker Jeremy Doran gives tips on aligning your podcast with your brand and improving your communication and interview skills. Learn booking and repurposing strategies to grow your network. Listen now to boost your podcasting skills.